tech-blog
A very basic introduction to Node.js - Part 8
December 22, 2019
This is the part 8 of post Intro to Nodejs - part 7.
So lets get started.
Our first challenge is to deploy our application to production.
That means we need to deploy our backend to a live URL.
instead of http://localhost:3000 , our URL would be something http://api.myapp.com
lets first break down what we need to do.
- Our Node.js app is running locally. localhost:3000
- Our MongoDB database is running locally.
This means we need to deploy two things to make it happen.
First, we’ll start with MongoDB.
One of the options for free hosting is MongoDB Atlas / mlab. They provide free 512 MB storage which is more than enough for us.
lets head to https://www.mongodb.com/cloud/atlas
click on Start Free and sign up
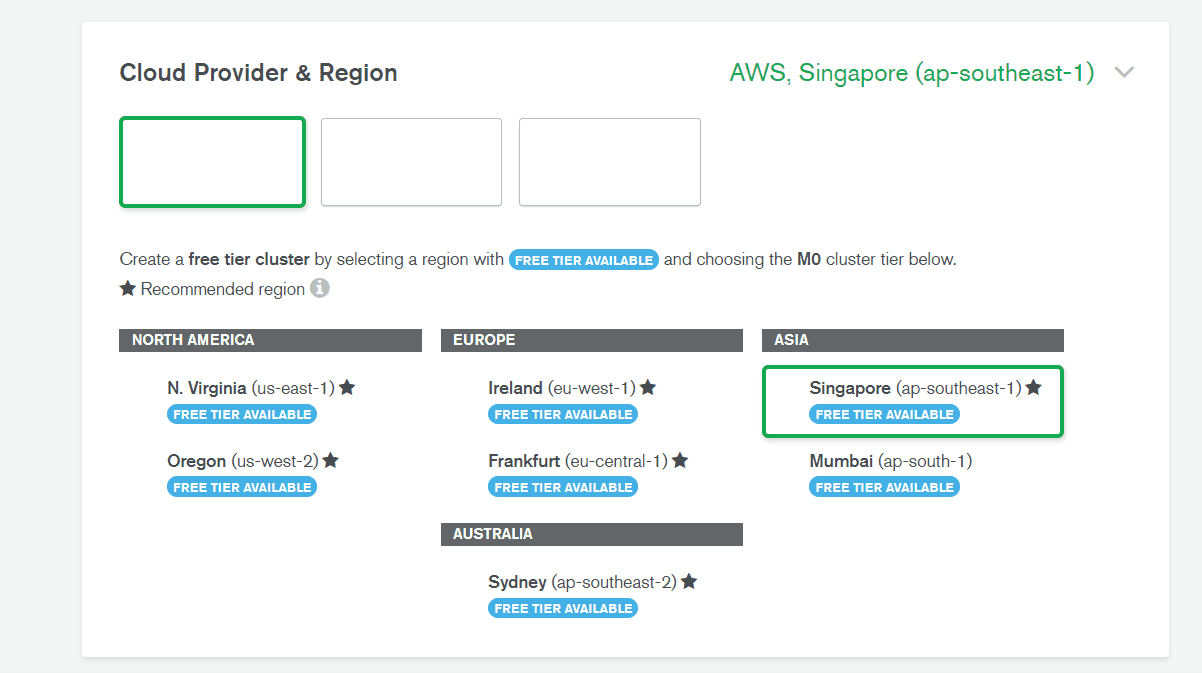
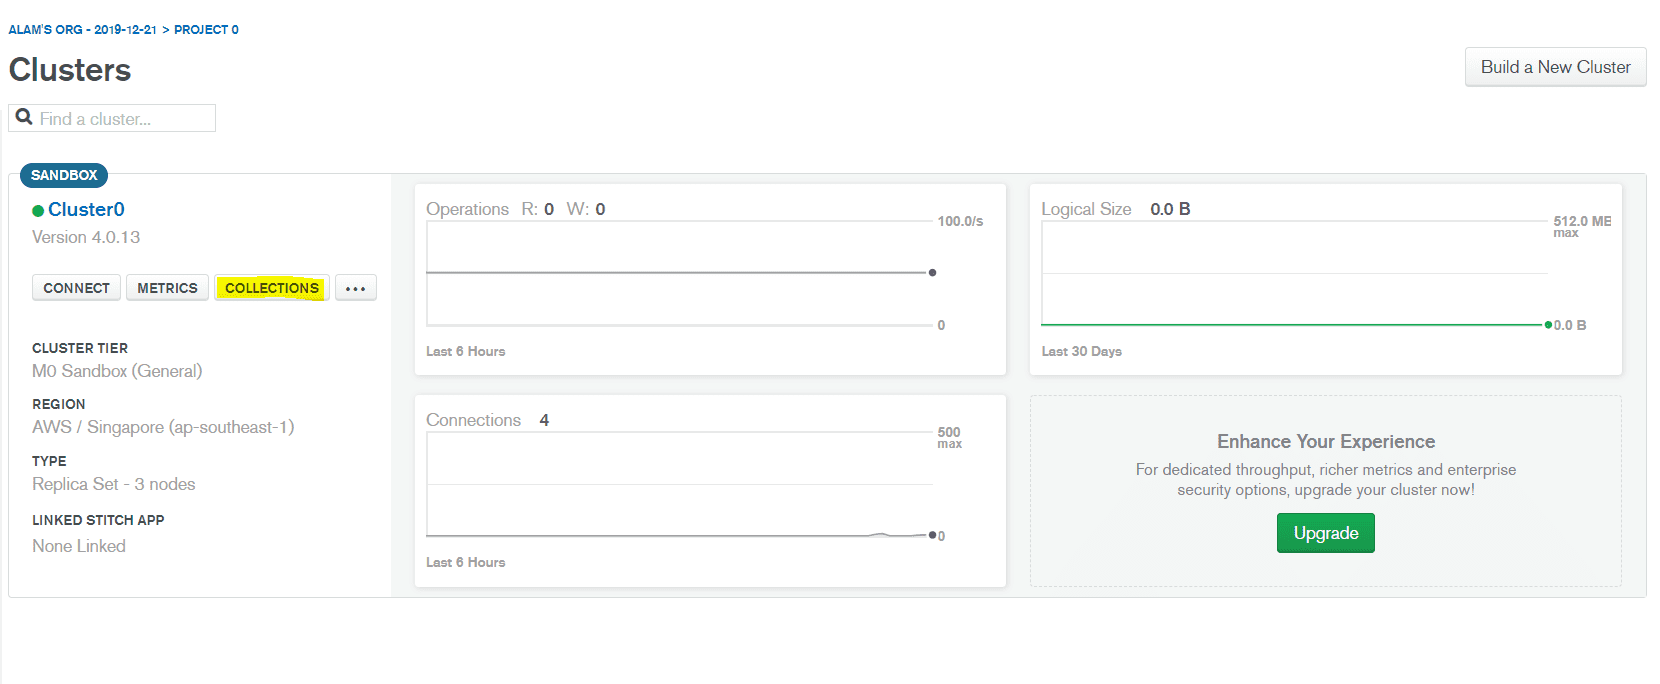
After Signup, Choose “Starter Cluster” on the left.
Choose any provide and click on create cluster.
Once you create a cluster, it will take a while.
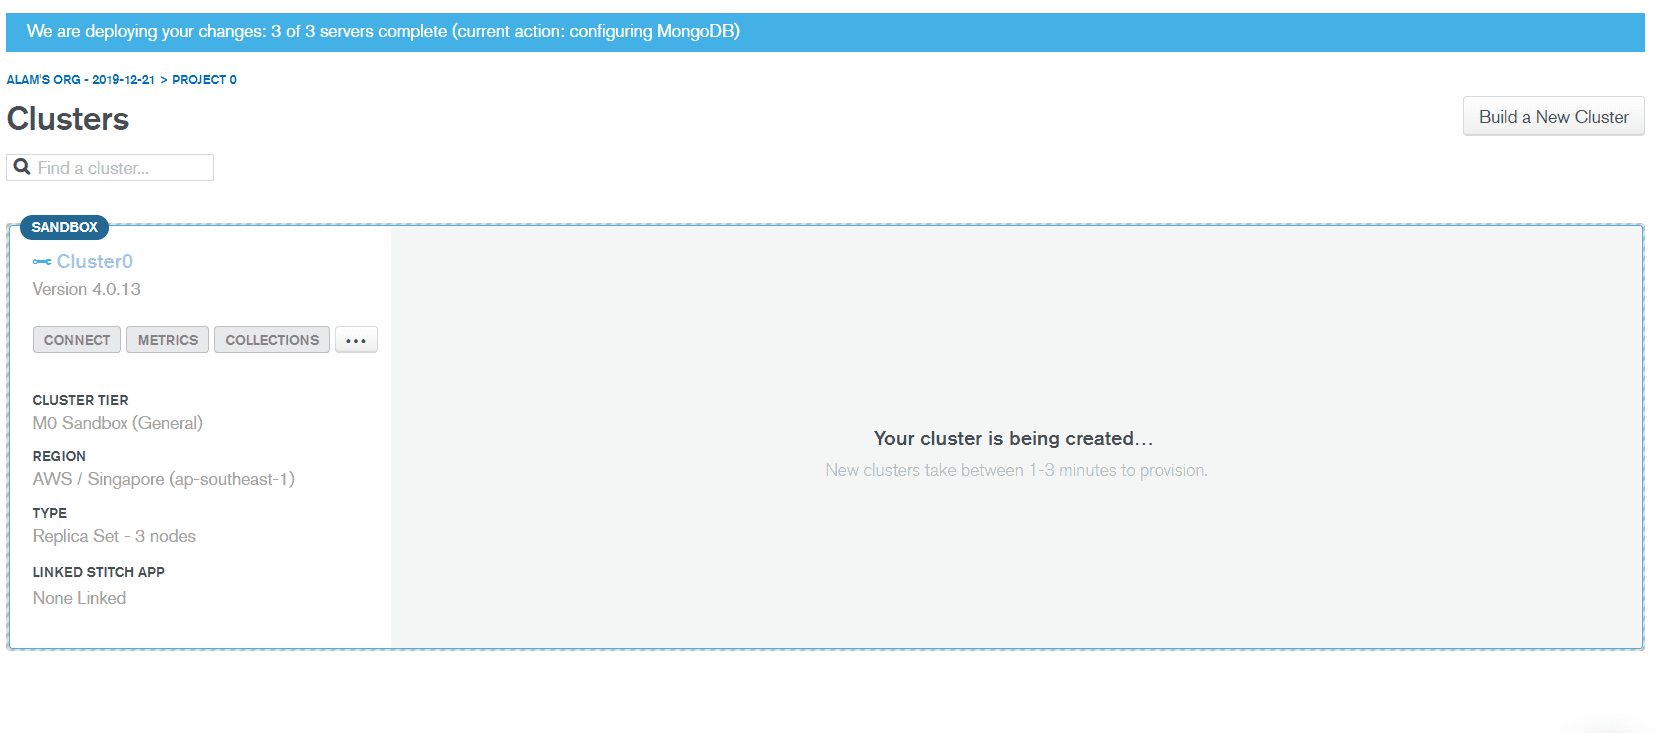
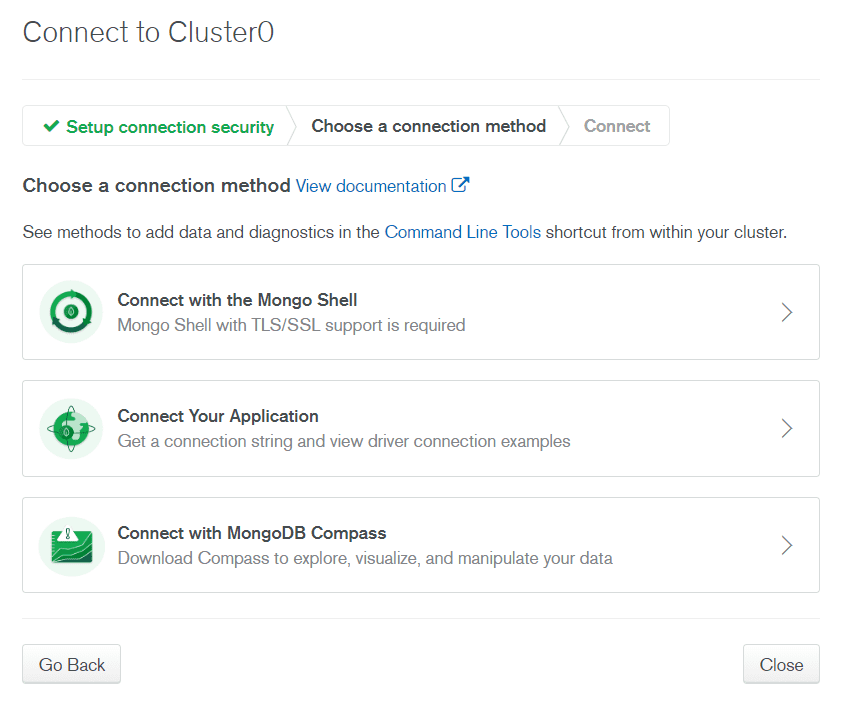
once its created, click on connect
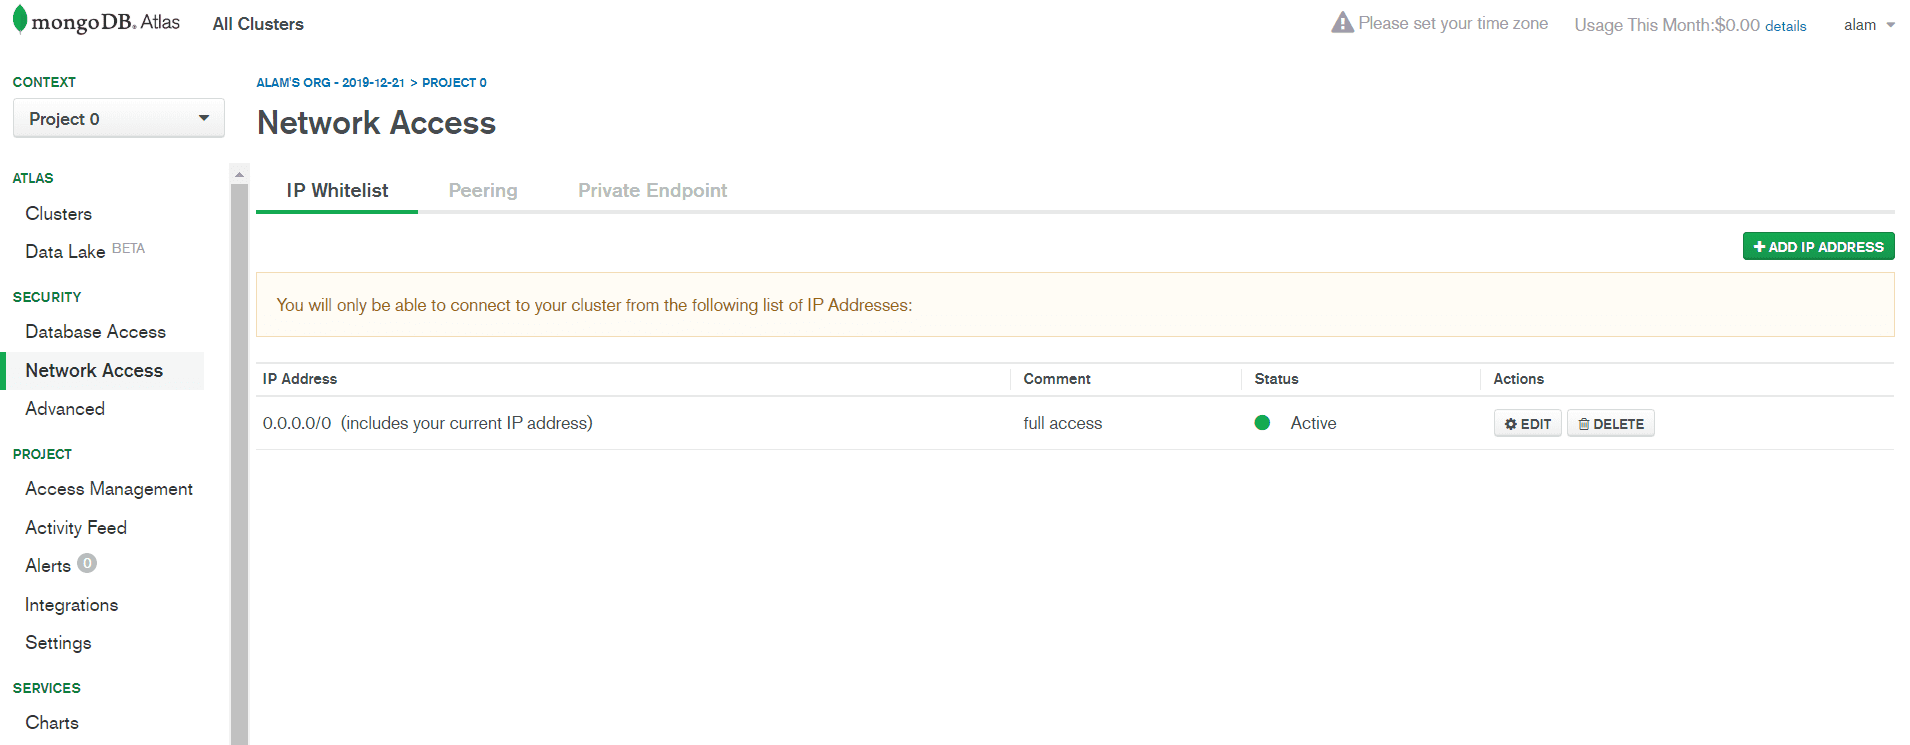
we need to do a couple of things
- create a mongodb Admin. use secure password not like the one in the picture :)
- allow IP.
you can add your current IP but then it would only work with your IP.
what you can do is add a white list IP 0.0.0.0/0
This is insecure but its fine.
your network access should look like this.
Click on connect your application
Copy the connection string from there. Yours will be different.
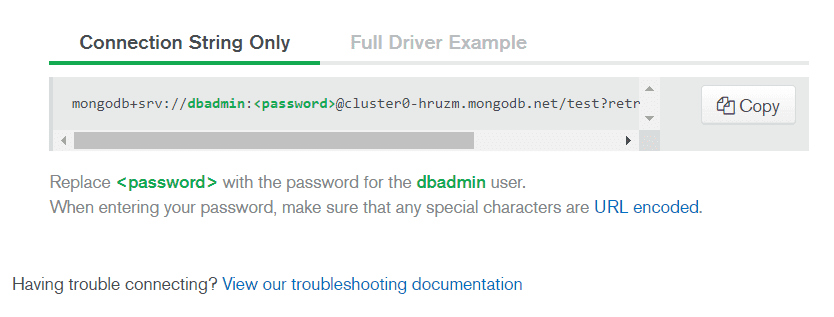
We will also need to add our password to that.
Lets first Connect it with our robo 3T

after pasting that connection string to the bottom (remember to add your password). Click on ‘From SRV’
once you do, click on test. You should see something like this
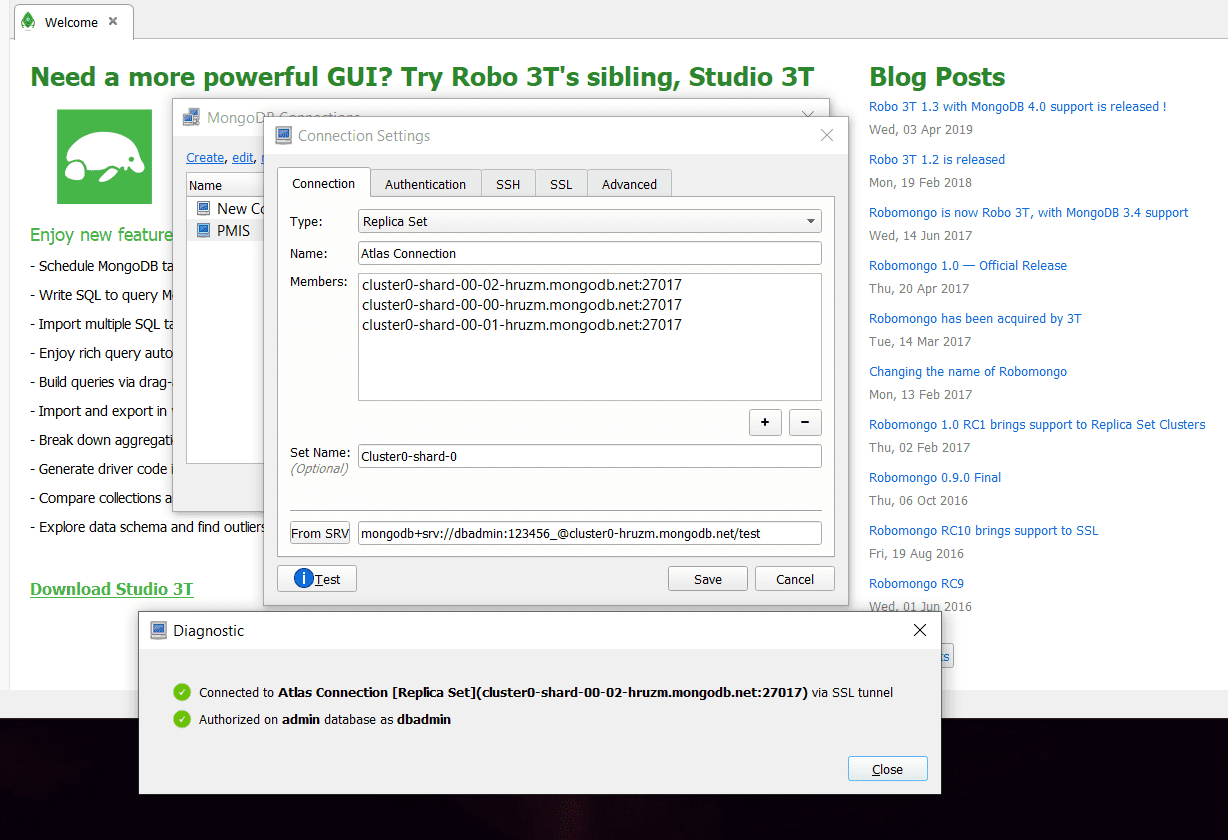
This means our Robo 3T connection was successful.
Next, click on Save and connect.
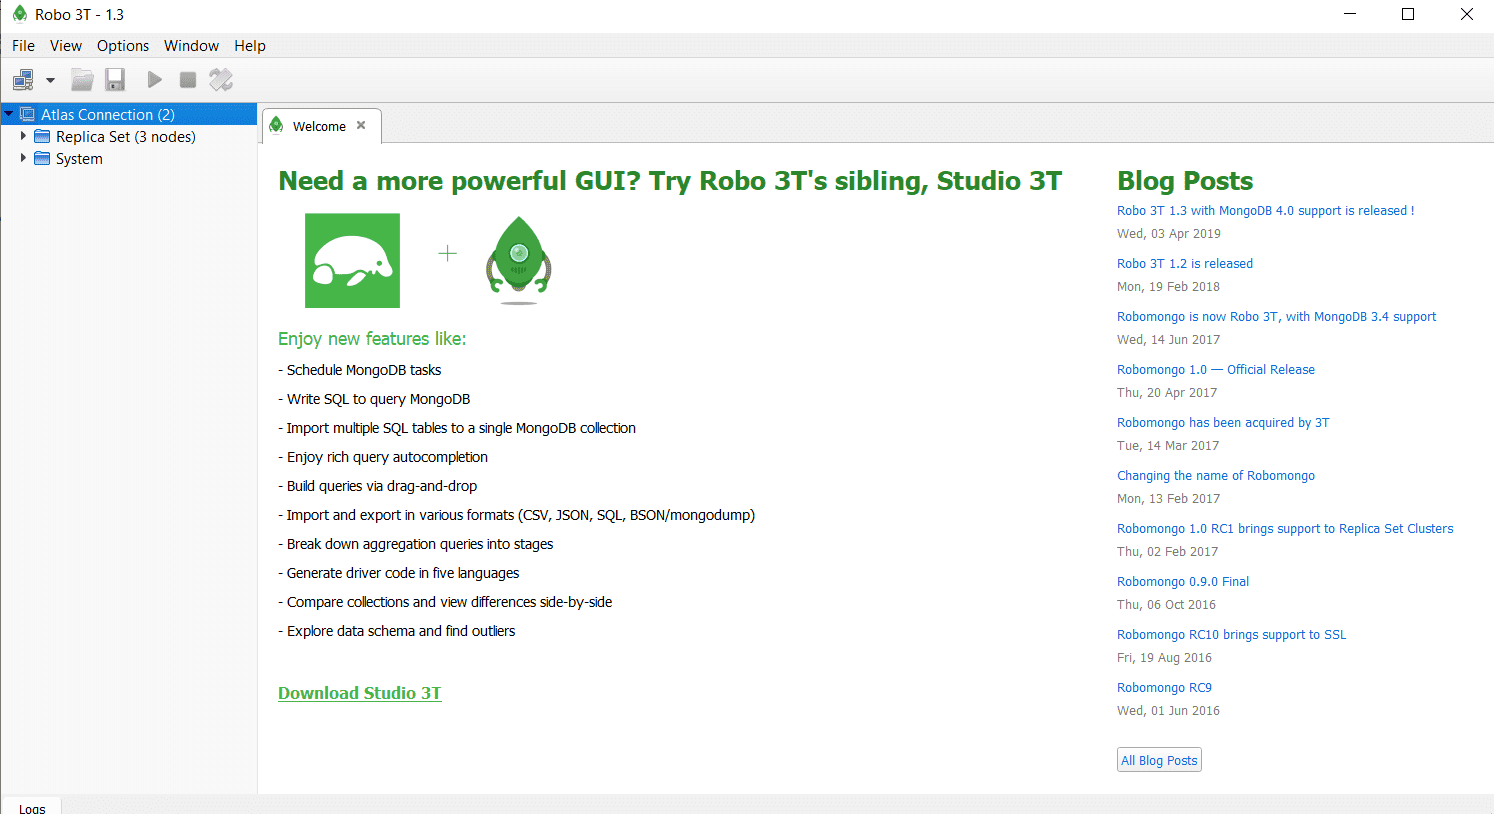
You have been connected to your cluster. Right now, you don’t have any database. We can create it from here or from the web panel.
Lets create it form the web panel.
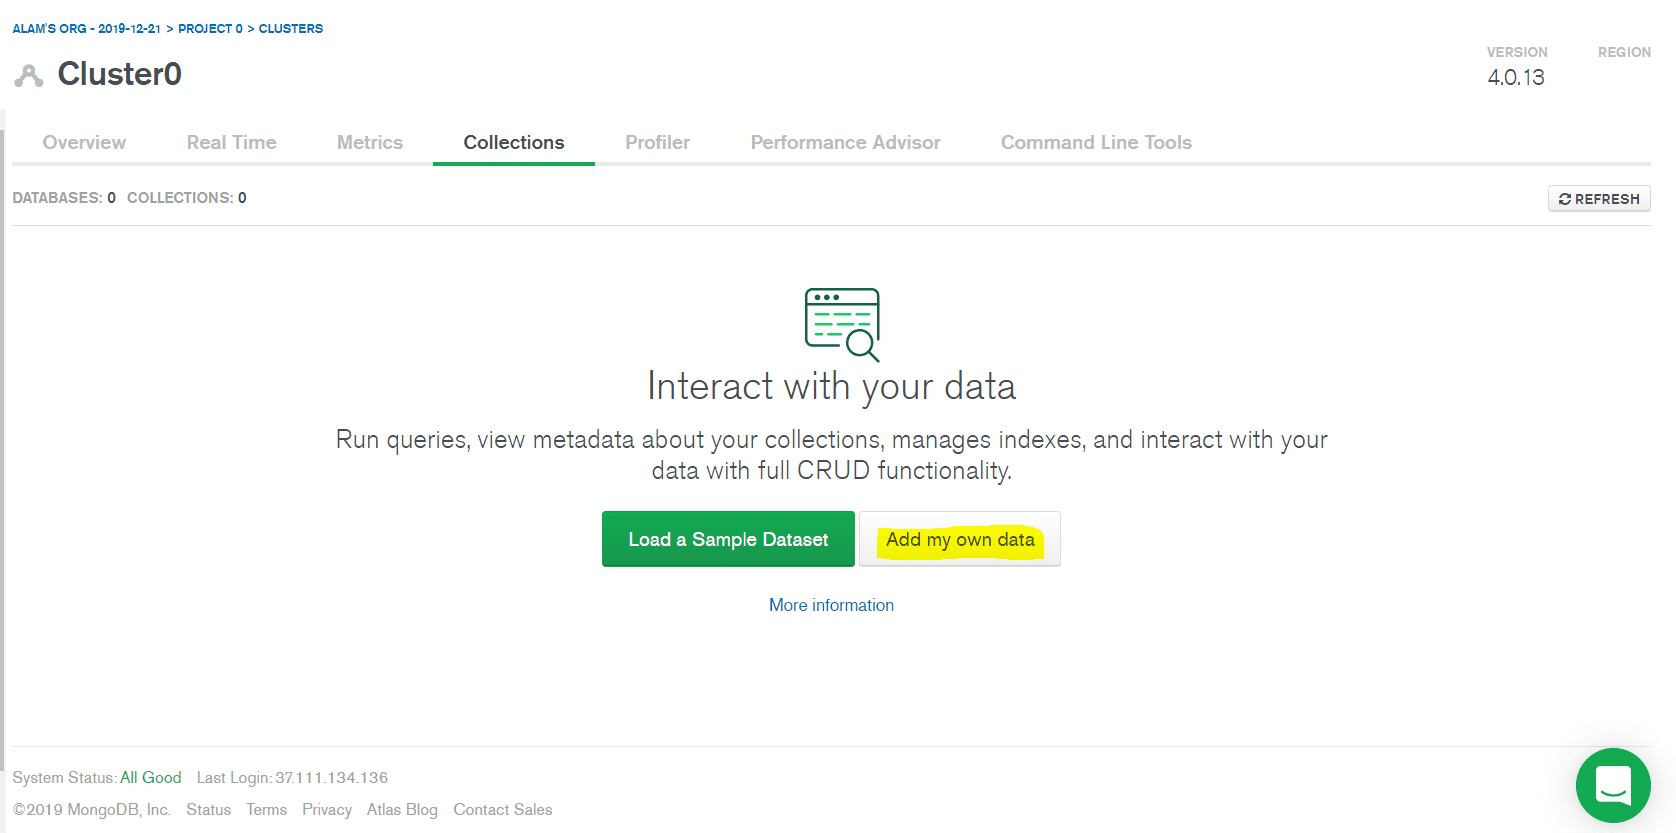
click on collections (remember for MongoDB / NoSQL, tables are called collections).
click on Add Own
add your database name and collection/table name
Save and your database is created.
open Robo 3T and hit refresh
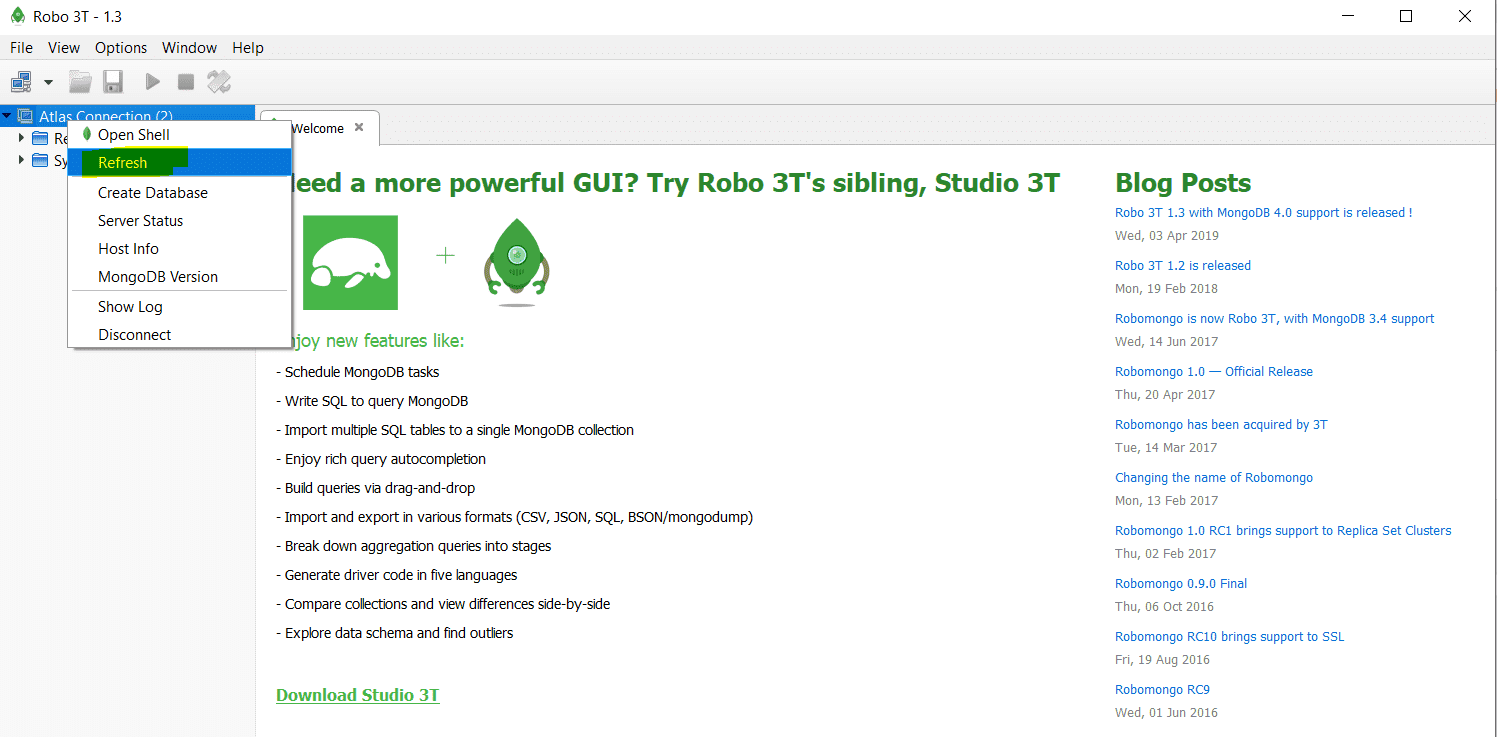
now you see the database here

Excellent. Now we need to connect to this database from our Node.js application.
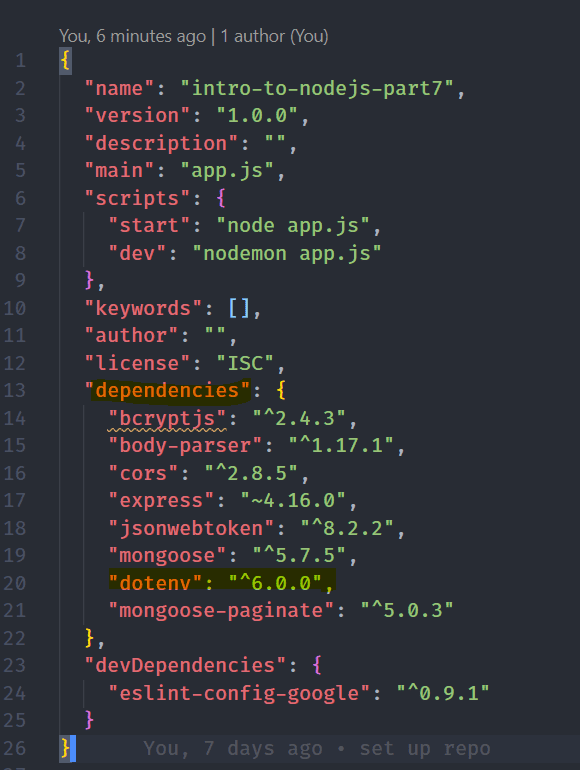
We just need to make 1 change. No change in code. just update our .env file. Make sure you write your database name / bookyapp instead of test

Now run your nodejs app.
http://localhost:3000/users/register
and a new record should be added to your database.
Congrats. The first step is done. Connection with a remote DB was successful.
Lets now move to part 2.
Deploying our Node.js application.
There are many options
Free Tiers : Heroku, Now.sh
Paid: Digital Occean, AWS, Google Cloud, Ali Cloud and many more.
We will use Heroku.
Heroku will deploy our Nodejs application and give us back a URL. we can hit that URL to access our Node.js backend.
Lets signup to Heroku https://www.heroku.com/
After Signup and Login, click on New
There are a couple of options
- Upload from your laptop using Heroku Commands.
- Connect it with a Github Project. (Remember Netlify ?). We make changes, upload and our app will be updated automatically.
We will use the Github option. Click on Github.
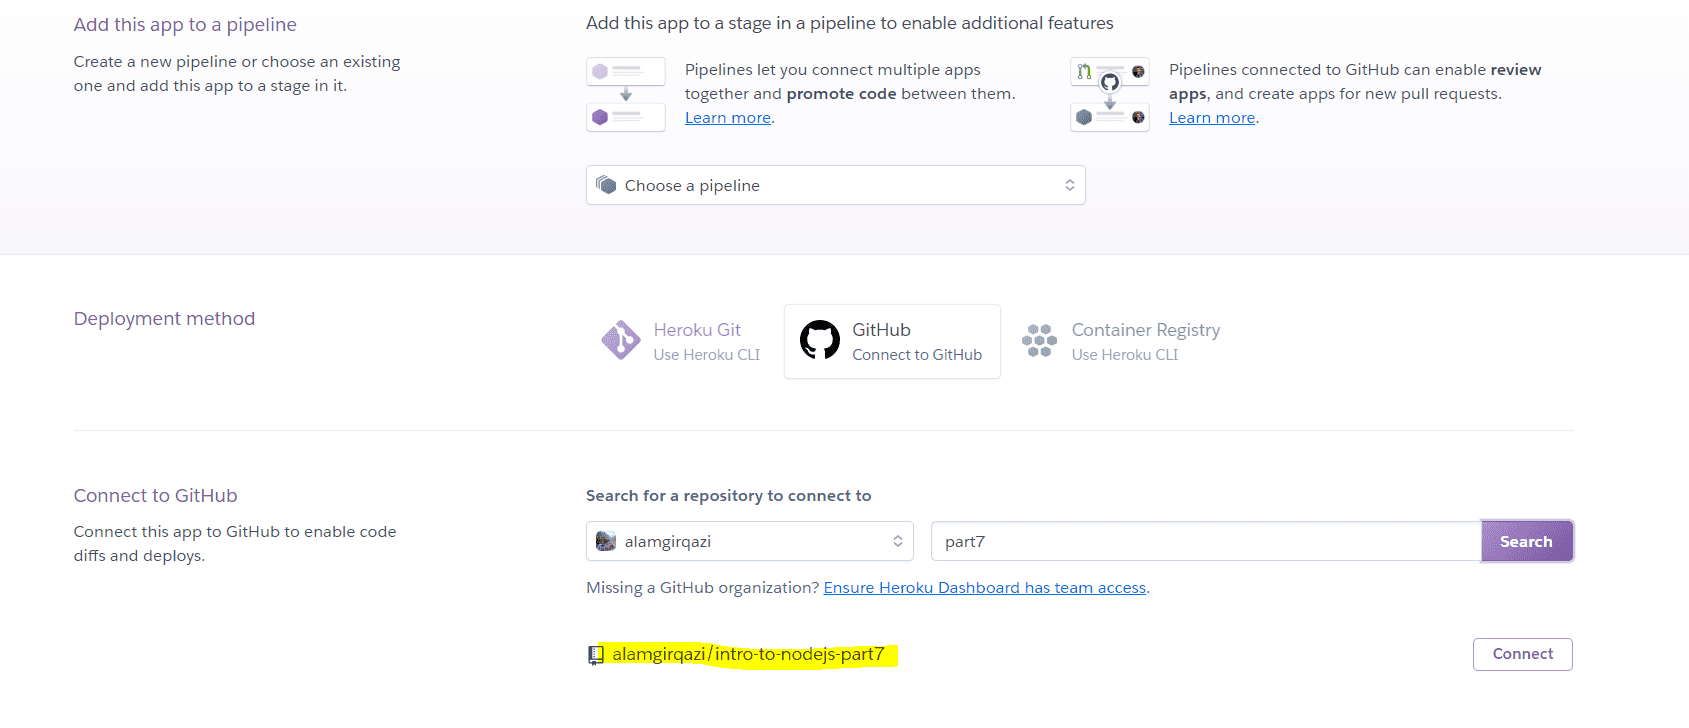
Lets connect with Part 7 repo I made for this tutorial.
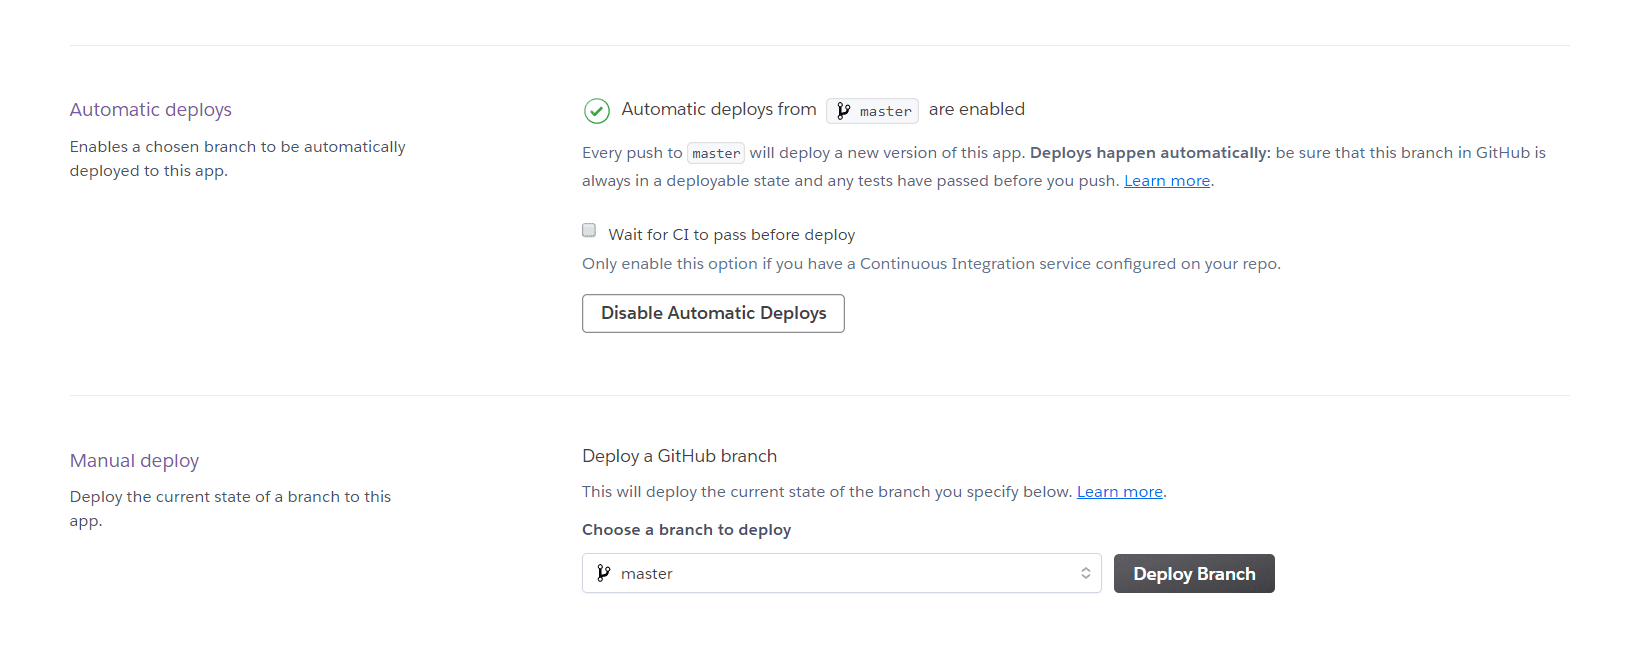
Click on enable automatic deploys.
Click on deploy branch.
I click on build and it gave me an error. It said I should either remove package-lock.json or yarn.lock
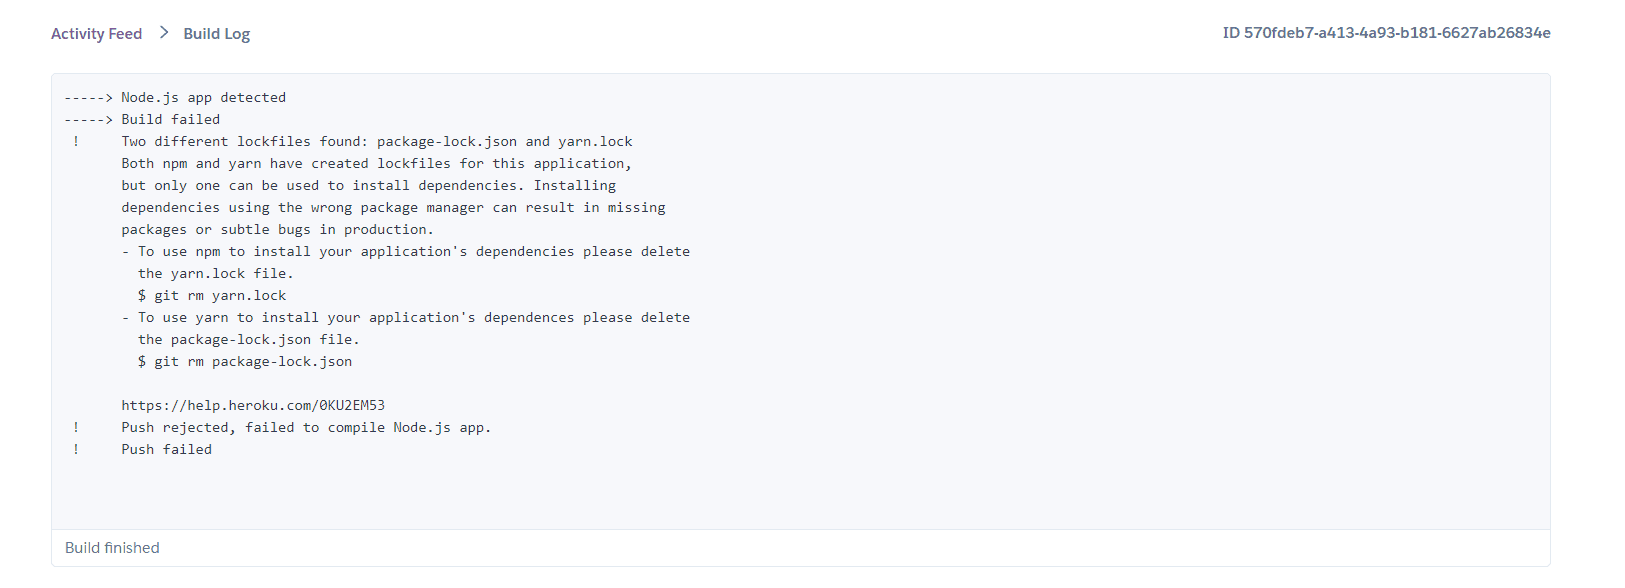
You may or maynot get this error. If you get, delete the yarn.lock file and git push again.
I deleted file and git push again on part 7.
Since auto deployment is on, it will start build again. Lets see if we get any errors.

After a file, here is the result
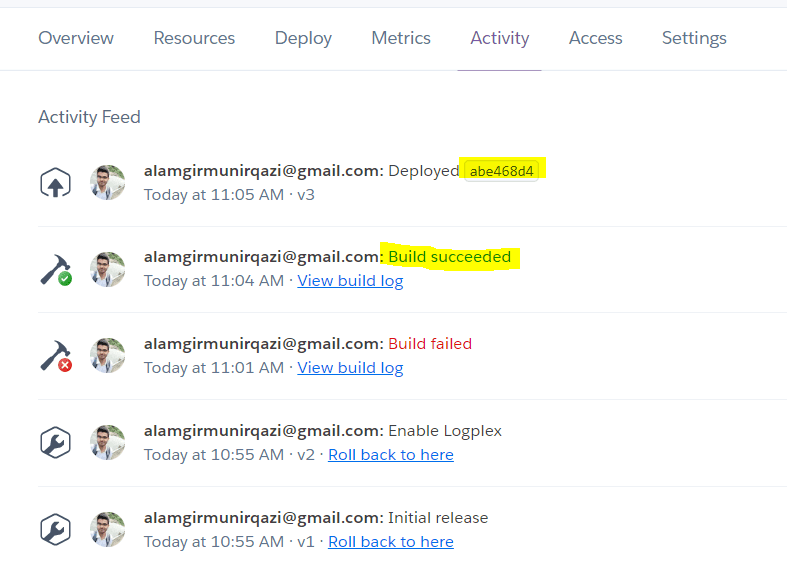
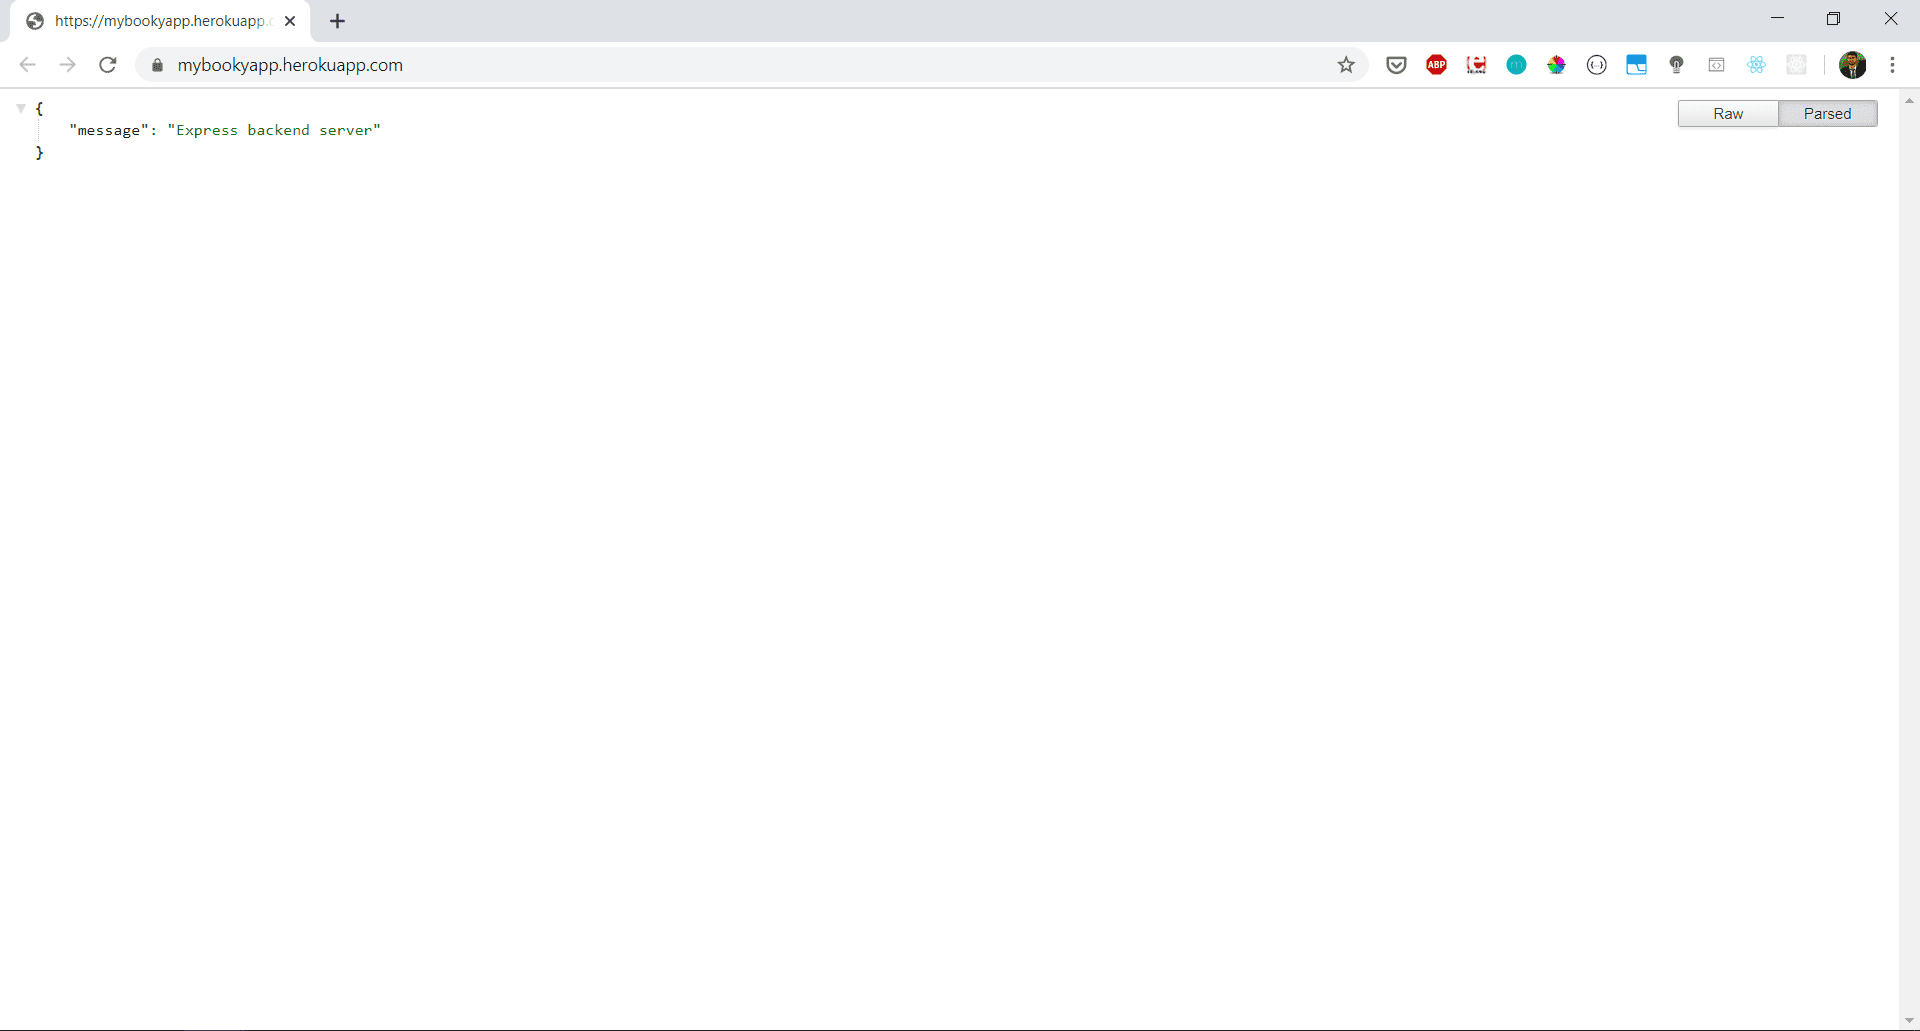
It has been deployed. Lets see.
Click on open app
Our Node.js app was deployed but it had errors.
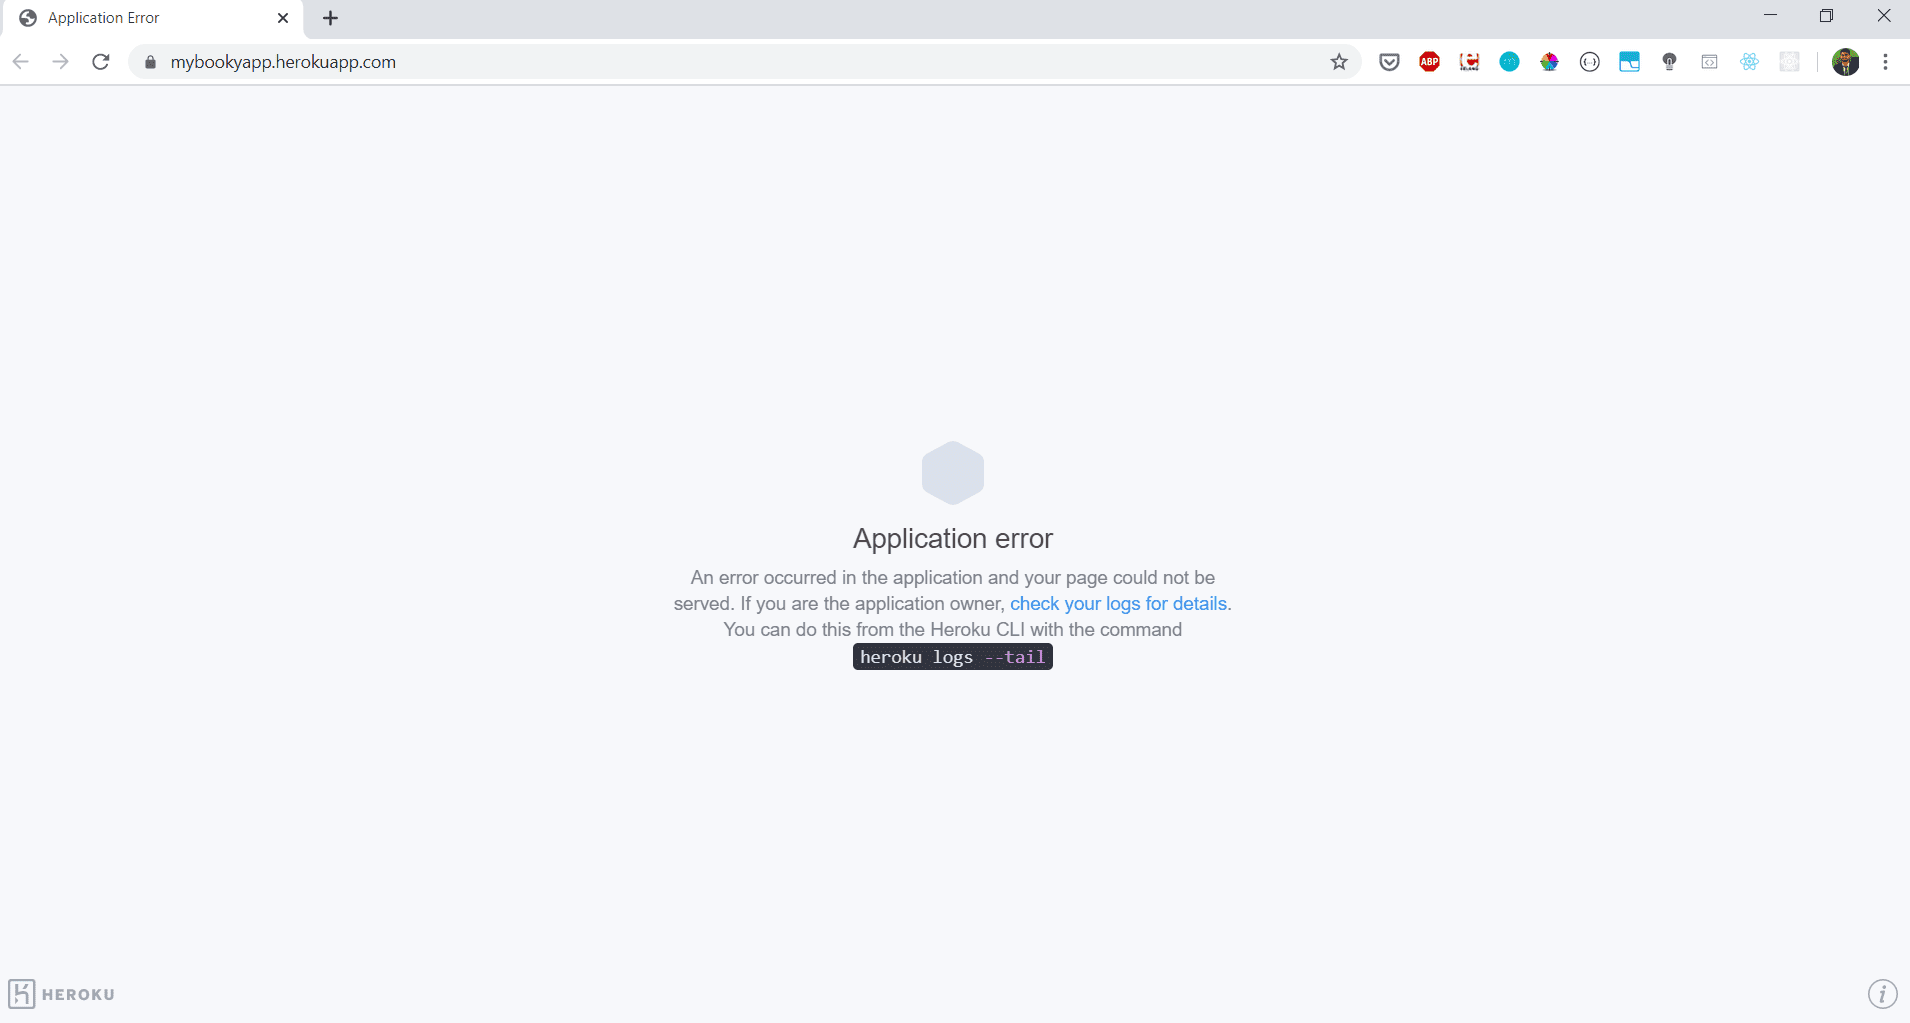
You can install heroku CLI and see the logs. However I have an idea why it isn’t working.
Remember .env file ? our DB connection was in that file.
We need to set the environment variables. We need to add our DB connection, our JWT secret key.
Go to Settings. Click on Config Vars.
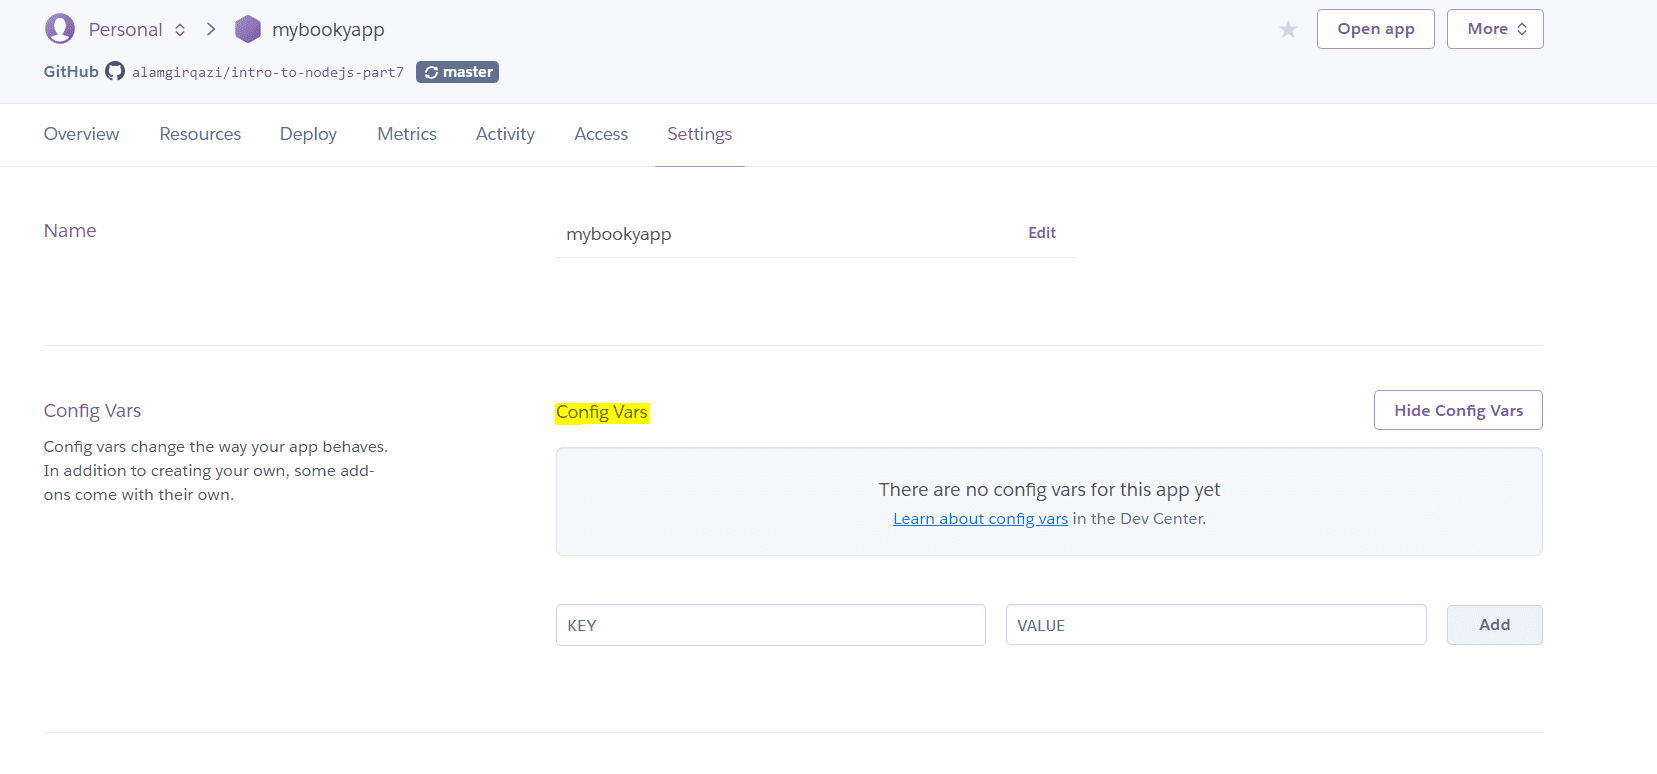
lets add our environment variables here.
Here are the new environment variables
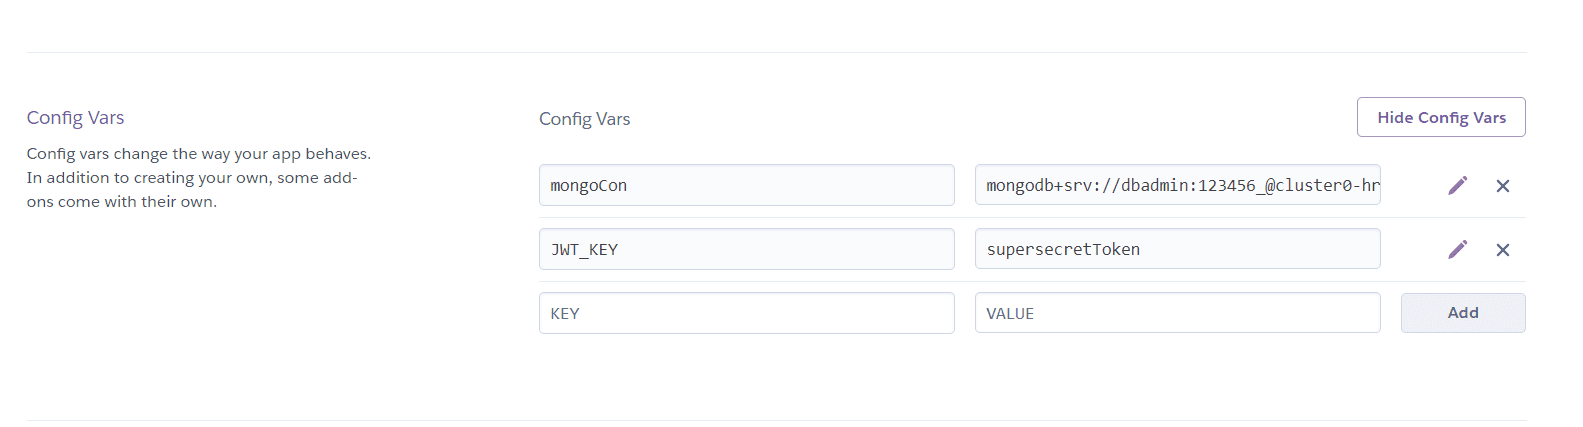
It updated but still didn’t work
I ran the command
heroku logs -a mybookyapp --tailto check for logs and see the issue. I got this.
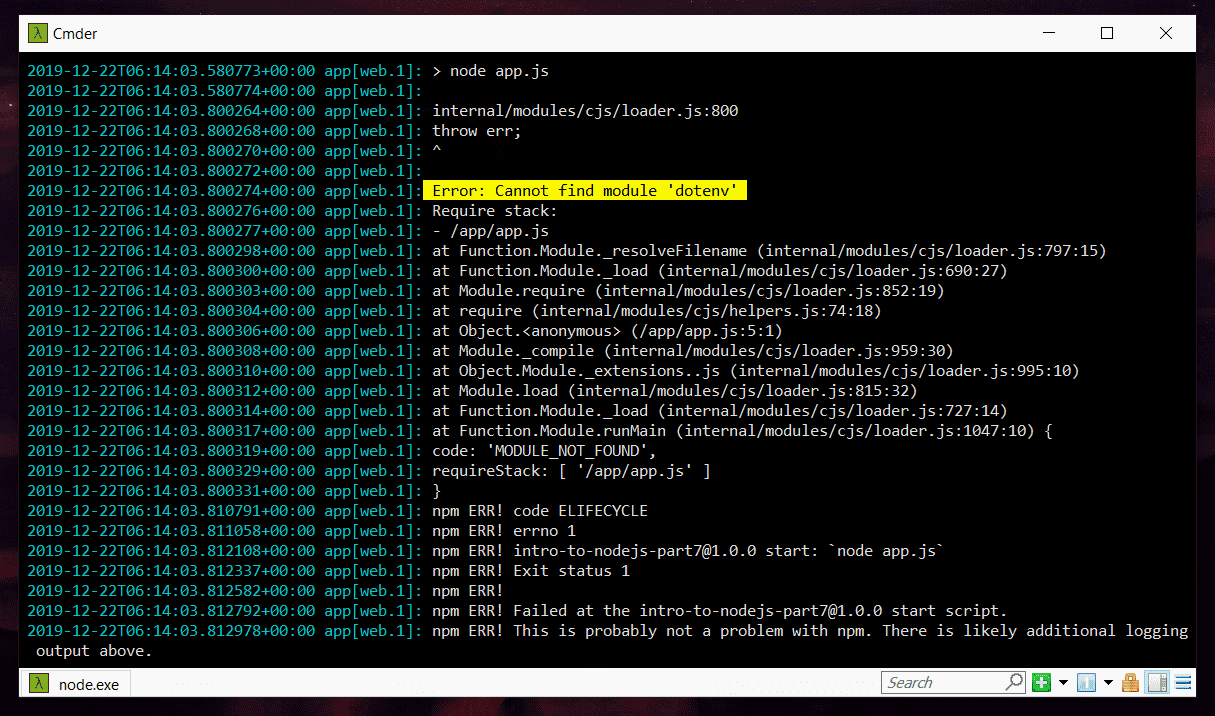
dotenv is not defined. I checked my repo and it was added in devDependency and not dependency. Heroku probably ran npm install --production and it didn’t install devDependencies that’s why I got this issue.
To fix that,
I move dotenv from dev to dependecies
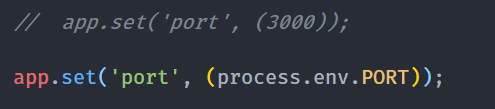
There was also another issue, we hard-coded the PORT in app.js. Heroku needs to handle it itself.
in app.js, update the code like this
Okay, now after git push, it will deploy itself and we will wait and see it in action.
yesssssssssssssssssssssssssssss !
Our app is live. Hooray !!
Lets test it in postman. Just replace localhost:3000 with your URL
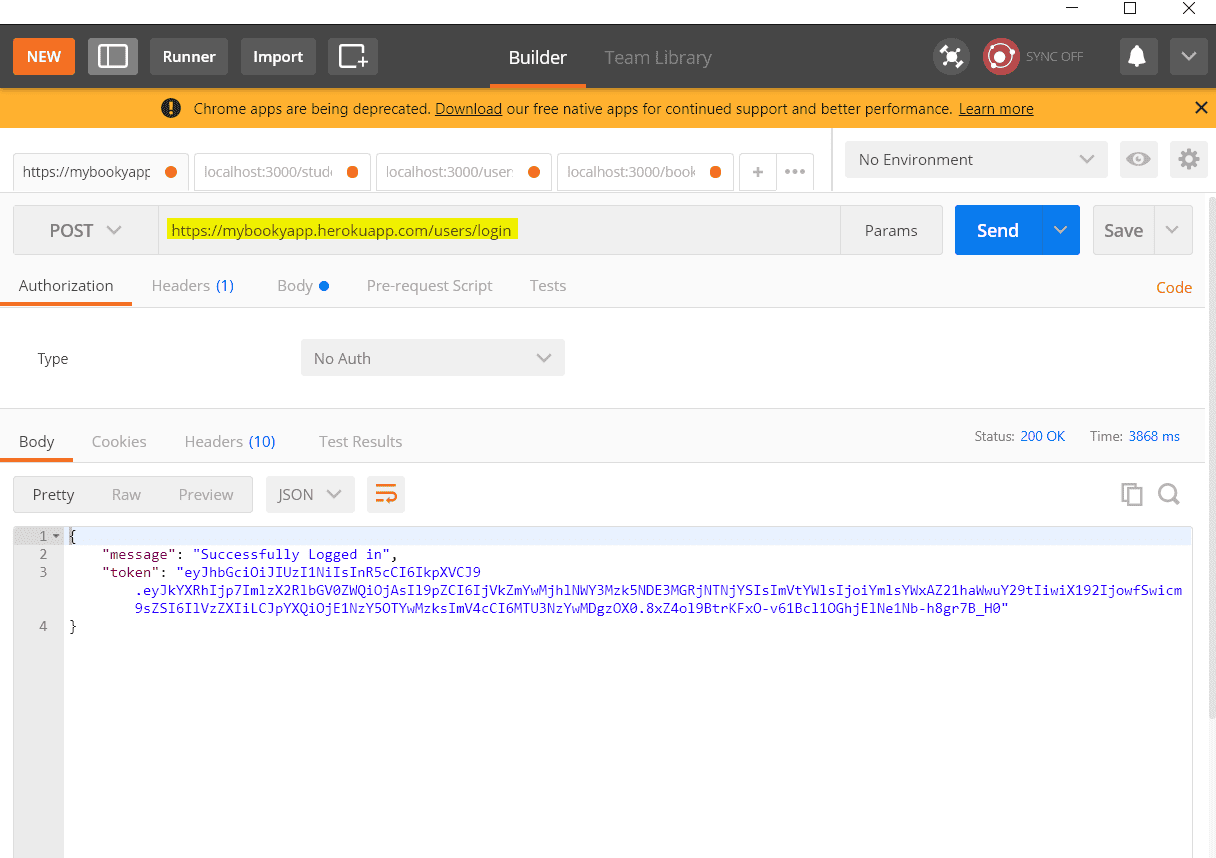
It won’t be as fast as localhost but that’s predictable.
Wow.
This part was long and hard. But we did it.
I feel exhausted now lol.
When our app runs, all that effort and hard work we do is worth it.
Now we learned how to deploy our application to production.
In our Ionic app, just update the BookyConfig path and its should connect with it.
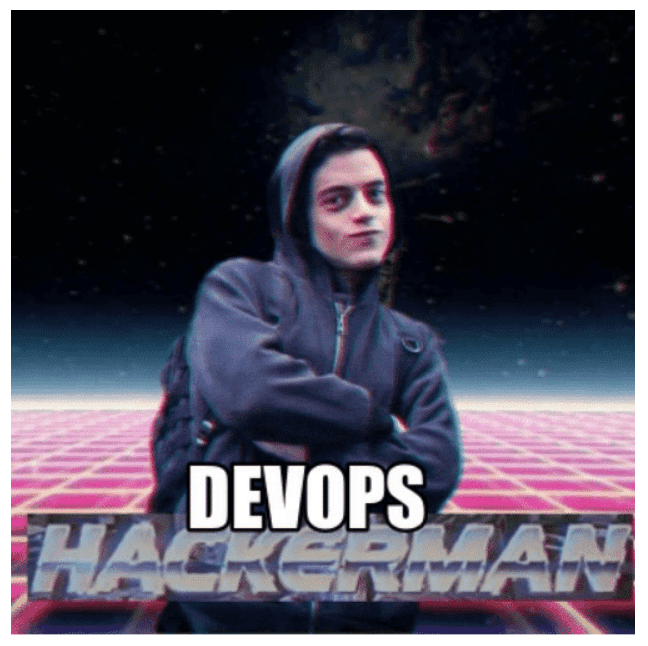
Now would be a time to add “experience with Devops” to your CV 😭😂
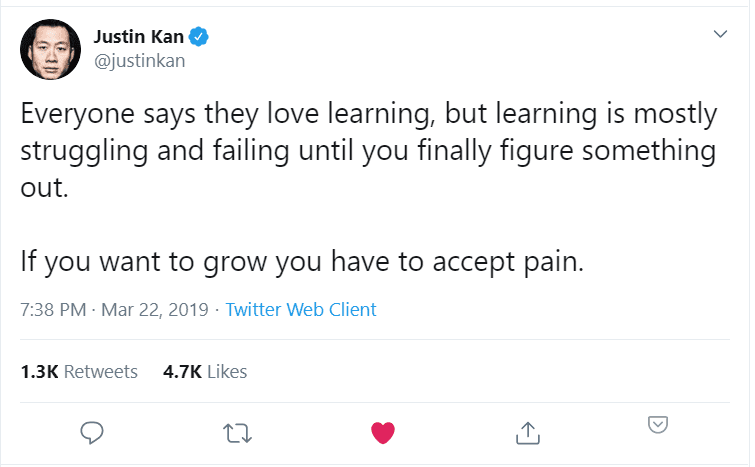
Learning / Building things is fun. It requires patience, preservance and effort. But in the end, it’s really worth it.
This is the last part of the series. I hope you learned some things from it. I personally learned so much from writing this series.
I would end this with this tweet / quote

Hey there, I'm Alamgir Qazi. I work as a full-stack JavaScript Developer. I'll be sharing what I've learned about Angular, Node, Docker, Kubernetes and other cool things.